
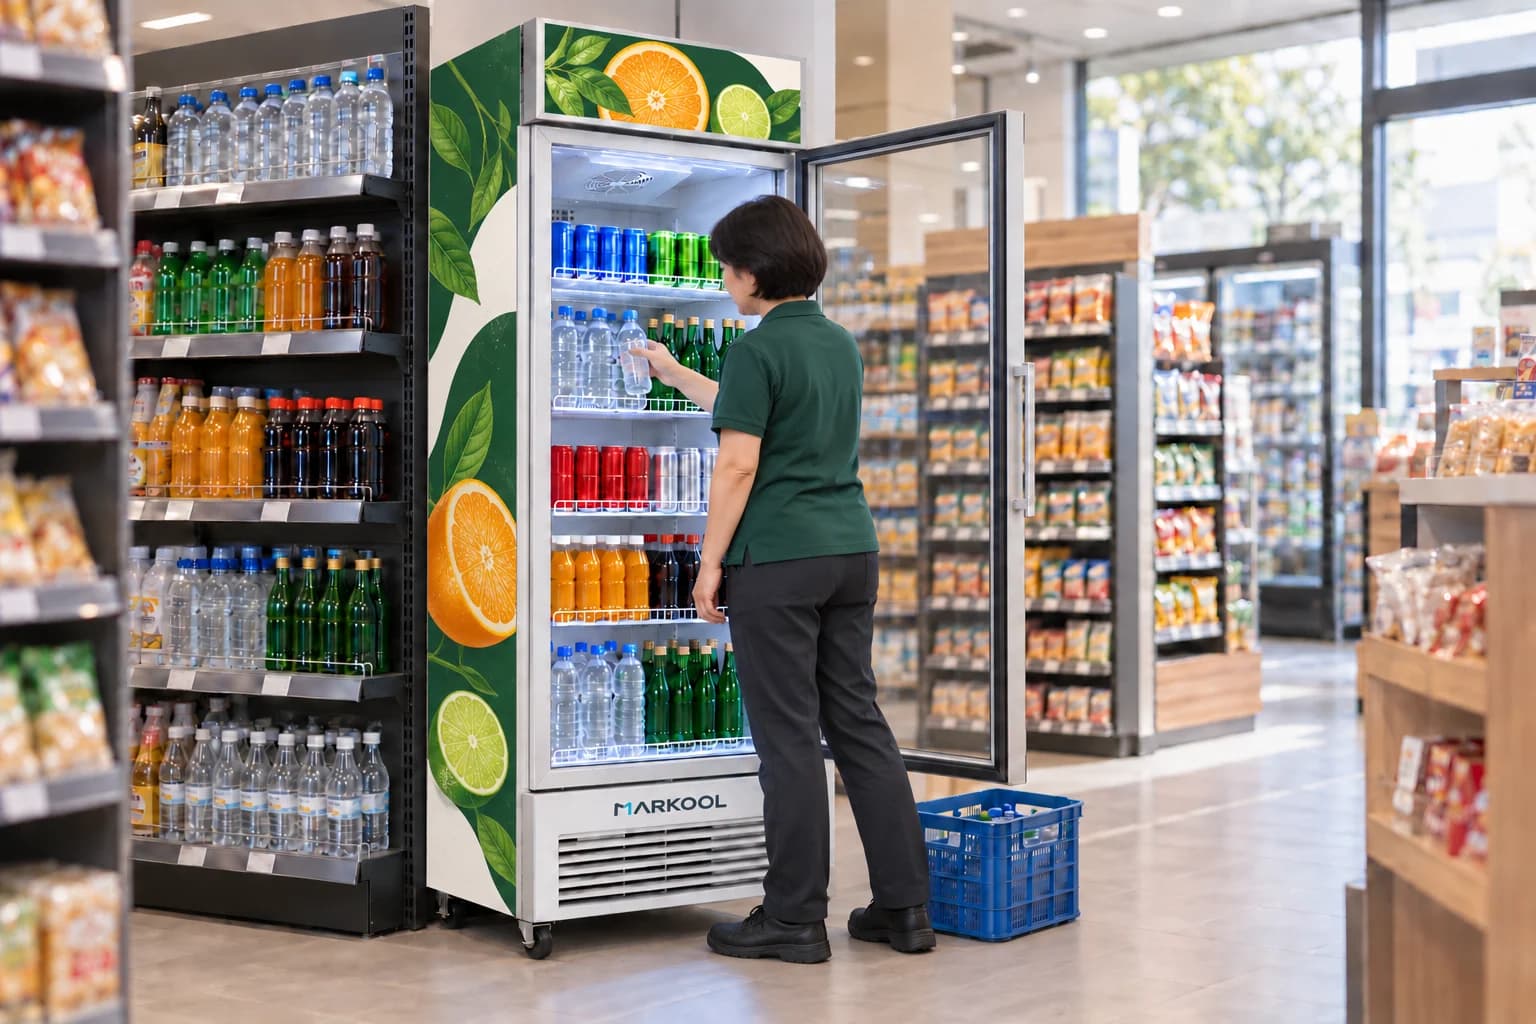
 Upright
Convenience stores
Fresh colour for the drinks aisle
Carry the campaign from the header down the visible side. Leave the drinks assortment easy to see through the glass.
Header + side panels
Use this direction in my briefYour campaign. Your retail setting.
Bring your logo, campaign artwork and retail placement. We’ll help you choose a suitable cabinet and plan the graphic surfaces, colour finishes and sample approval steps.
For brand owners, distributors and retail programs.
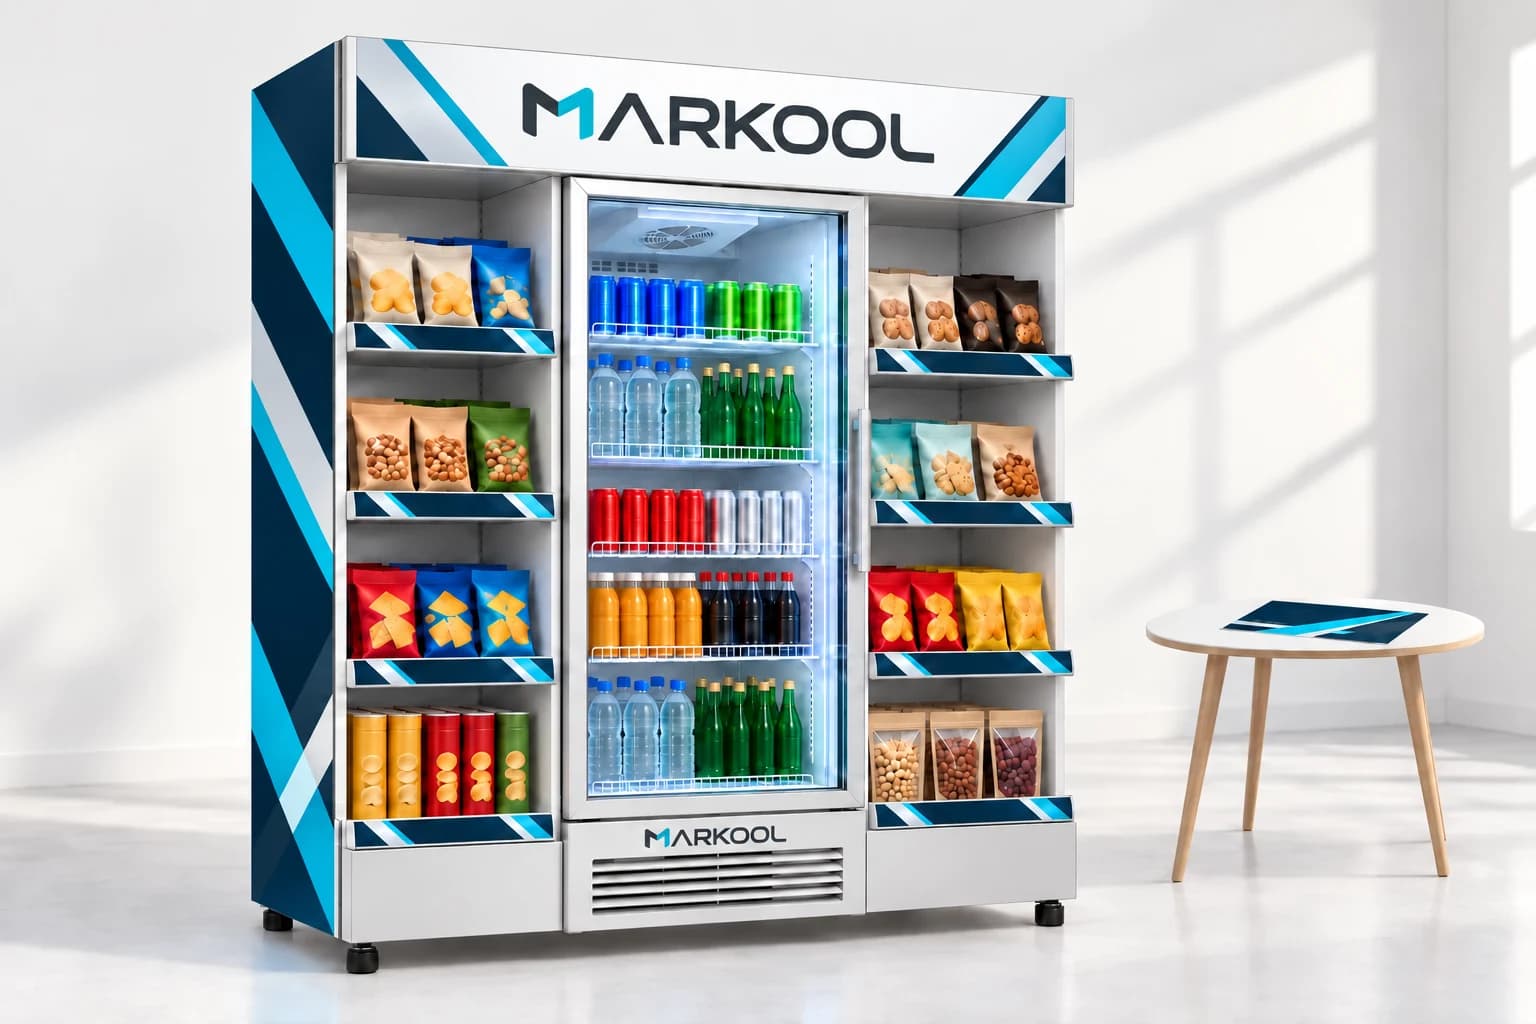
Explore the possibilities
Choose a direction to include in your brief. These design illustrations show how artwork and placement can work together; your selected cabinet and artwork define the final result.
UprightConvenience stores
Carry the campaign from the header down the visible side. Leave the drinks assortment easy to see through the glass.
Header + side panels
Use this direction in my brief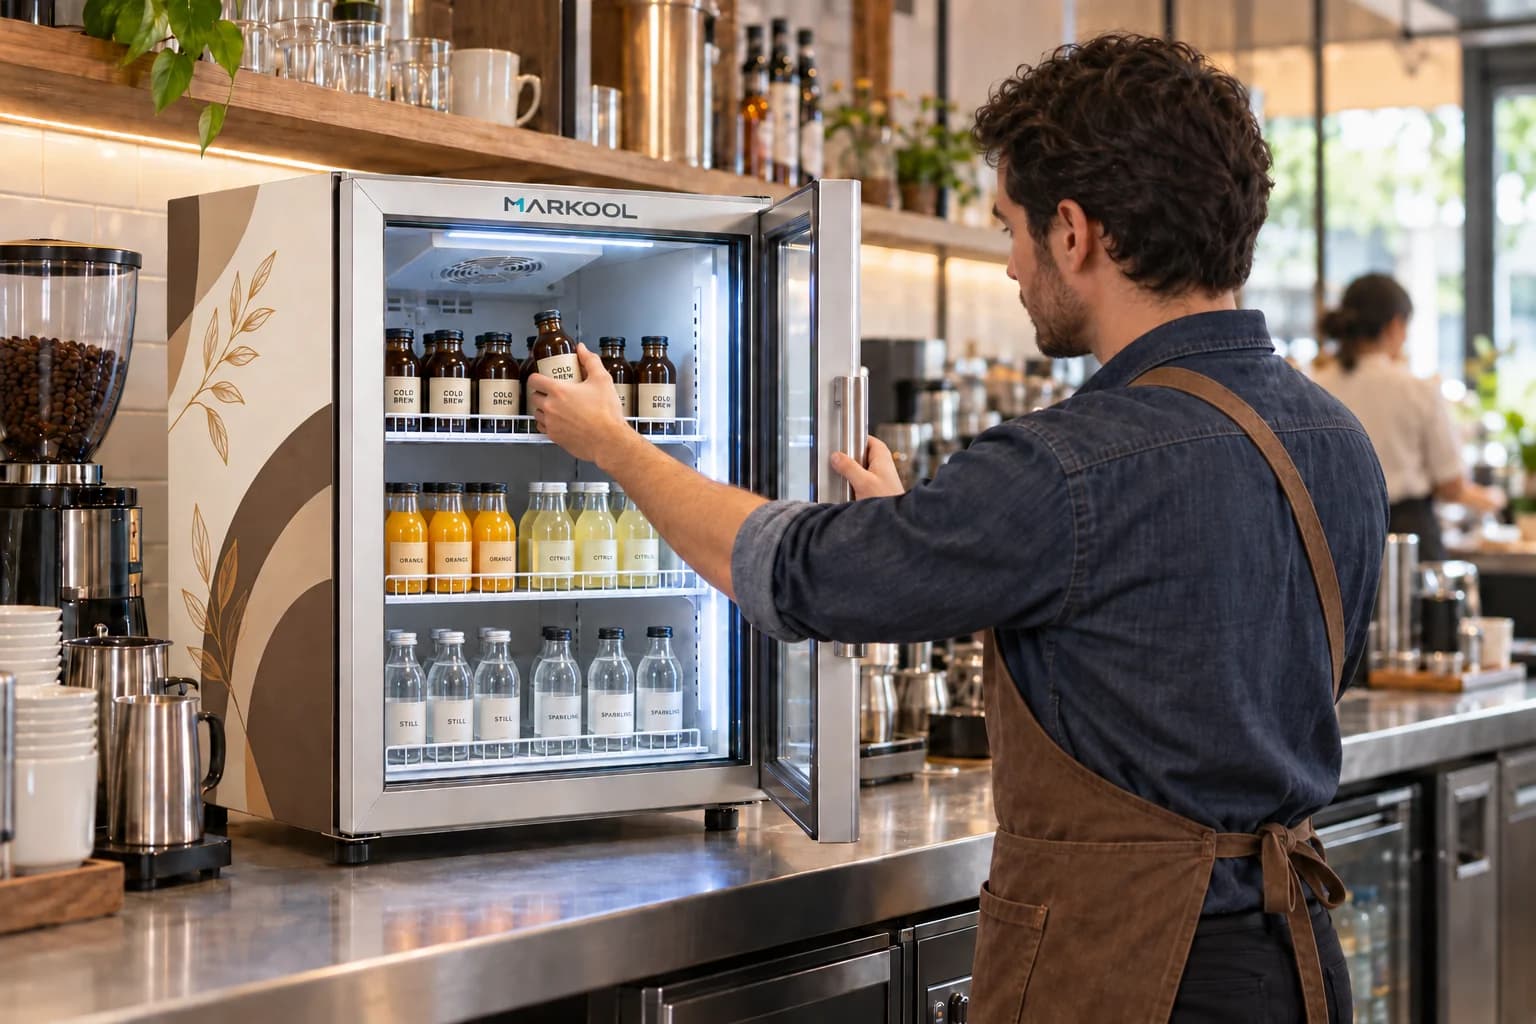 Countertop
Cafés and service counters
Use restrained colour and a side-panel motif to complement the service space. Plan the layout around the actual drinks menu.
Side graphics + cabinet finish
Use this direction in my brief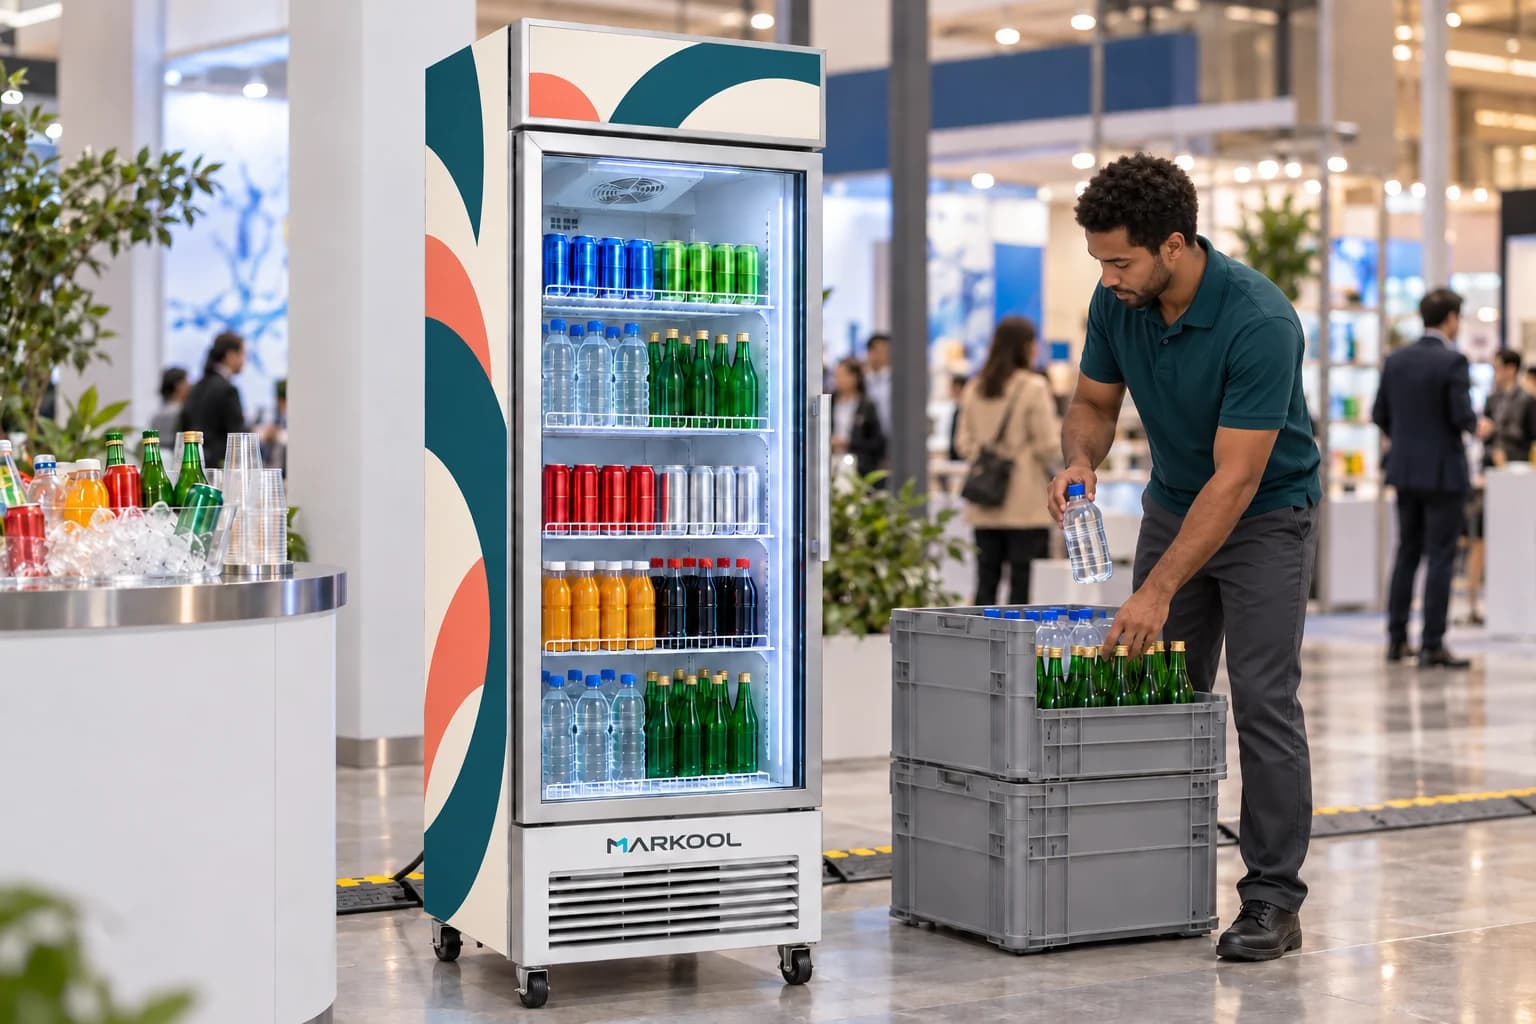 Upright
Indoor events and activations
Repeat a simple graphic across the side and header so the campaign reads from more than one approach. Keep restocking access in the layout.
Header + side graphics
Use this direction in my brief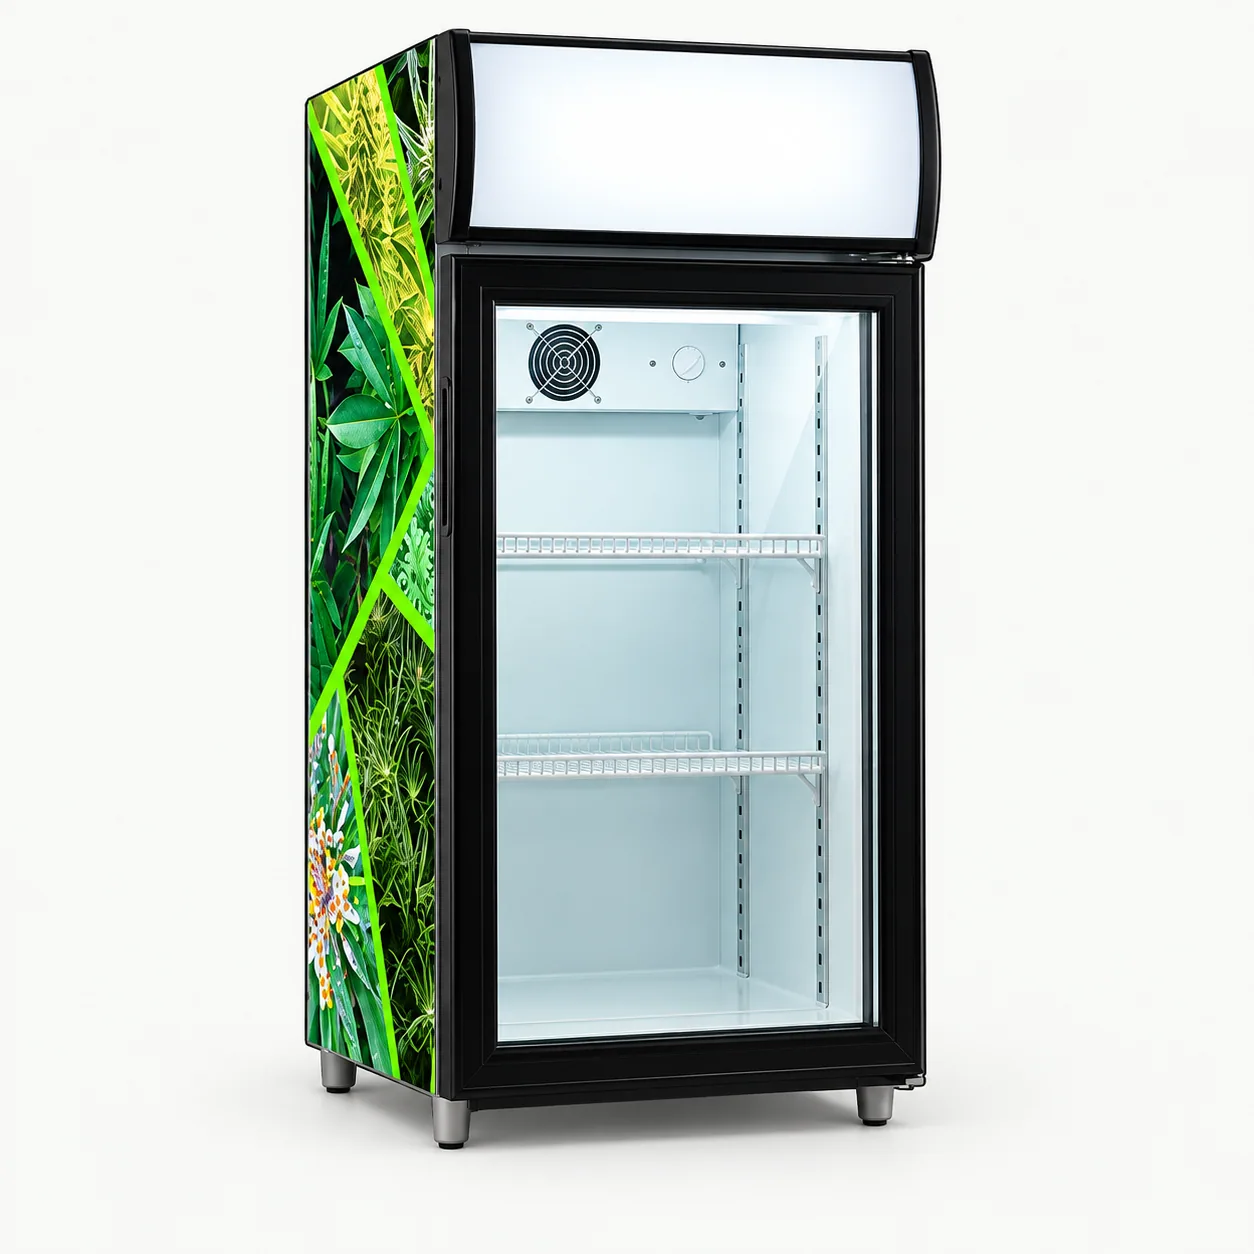 Countertop
Checkout and counter displays
Use a strong side-panel illustration beside a simple header. The blank face leaves space to develop your campaign name and logo.
Side wrap + header layout
Use this direction in my brief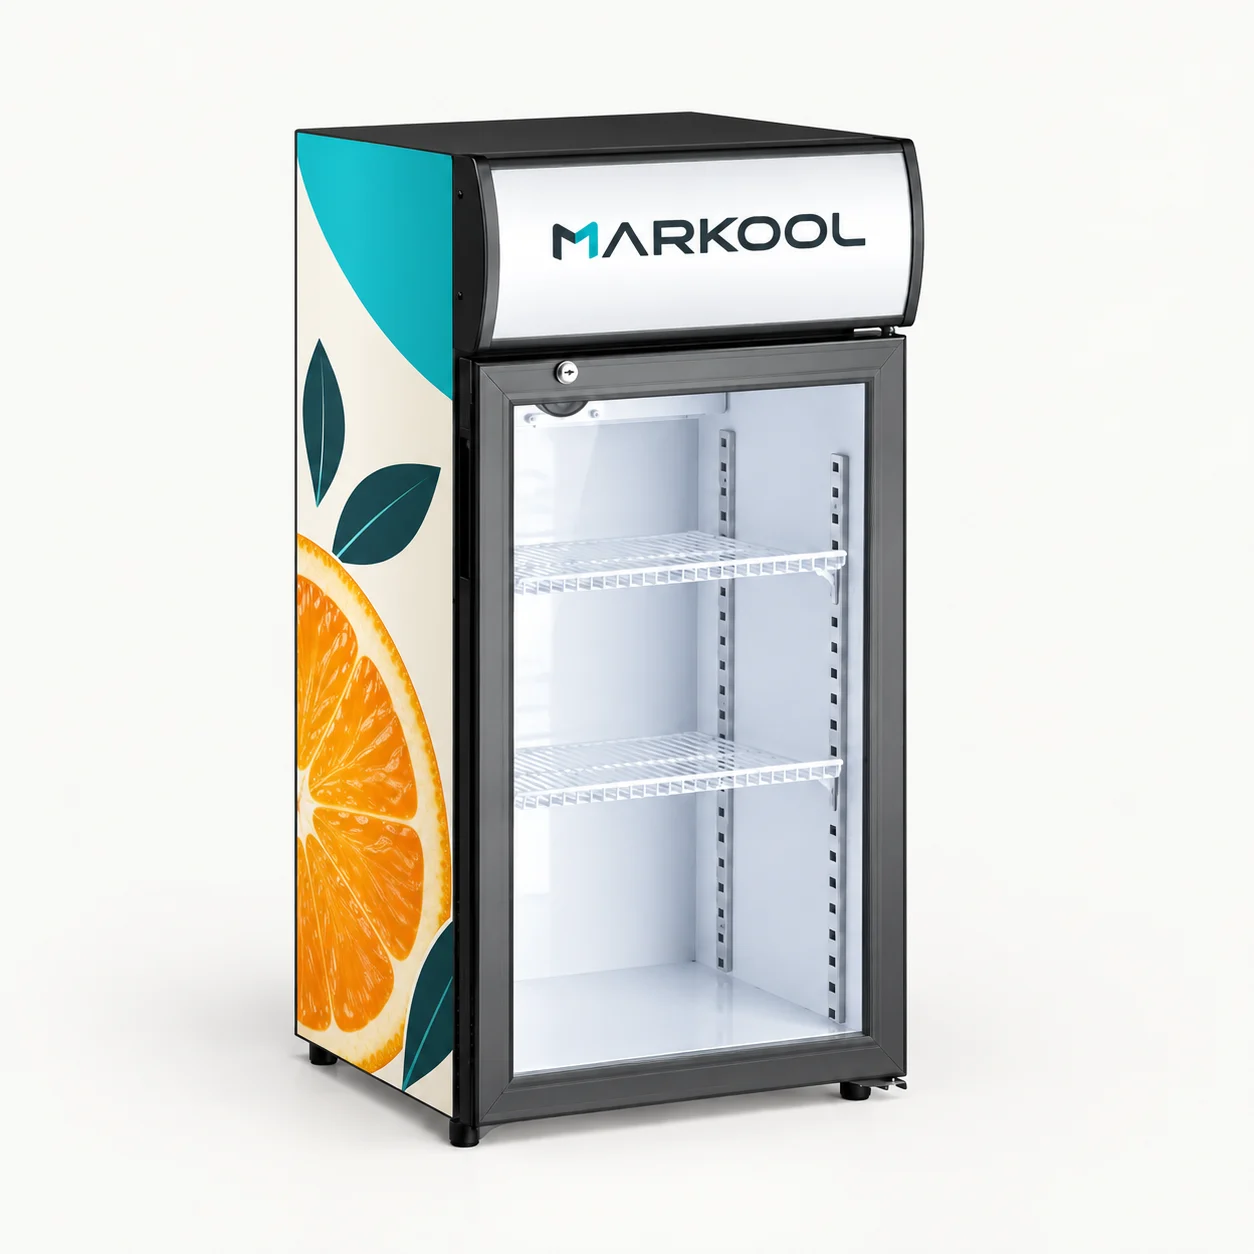 Countertop
Point-of-sale drink displays
An original citrus direction pairs a clear header with a graphic side panel. Compare it with the can-shaped concept to see one campaign adapted to different surfaces.
Shared citrus campaign · header + side wrap
Use this direction in my brief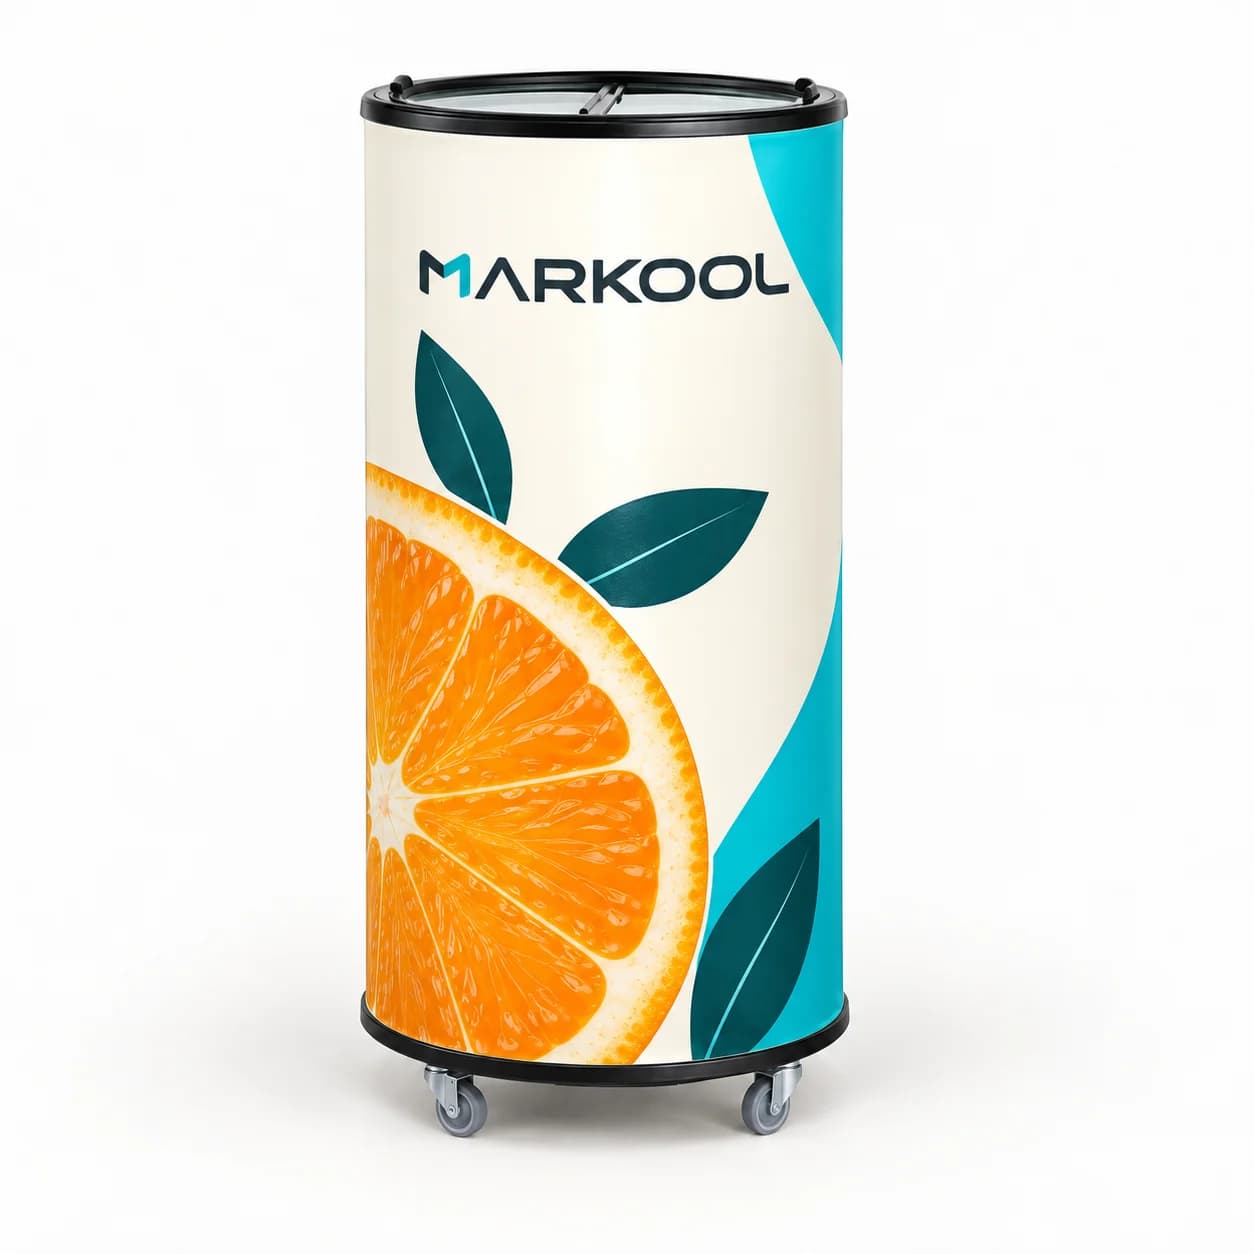 Can-shaped / promotional
Indoor activation and impulse displays
The matching citrus direction continues around a cylindrical body. Use a dedicated wrap template and confirm the chosen lid, footprint and access before approval.
Shared citrus campaign · cylindrical body wrap
Use this direction in my briefDesign and application illustrations, not documented customer installations. Model-specific dimensions, options and performance are confirmed separately.
Choose around the placement
The display position determines which surfaces people see—and which cabinet, access and ventilation details need to be checked.
For checkout, café and service counters. Review counter space, door travel, drink pack dimensions and staff reach before setting the artwork.
Explore countertop formats →For a visible drinks assortment and a larger side-panel message. Check the shopper approach, product facings, door clearance and replenishment route.
Compare refrigerator formats →Discuss a can-shaped or other promotional format around the campaign. Confirm the opening type, access, power provision and the actual package layout.
Discuss a promotional format →Need to check bottles and cans first? Prepare a pack-out layout →
Artwork meets the cabinet
Expand a treatment to see the inputs and approval decisions. Confirm availability, materials and print areas for your selected model.
 Header & lightbox+
Send the logo files, artwork layout and required lit appearance. Review the printable area, panel material and mounting arrangement for the selected header, then approve the face artwork and sample appearance together.
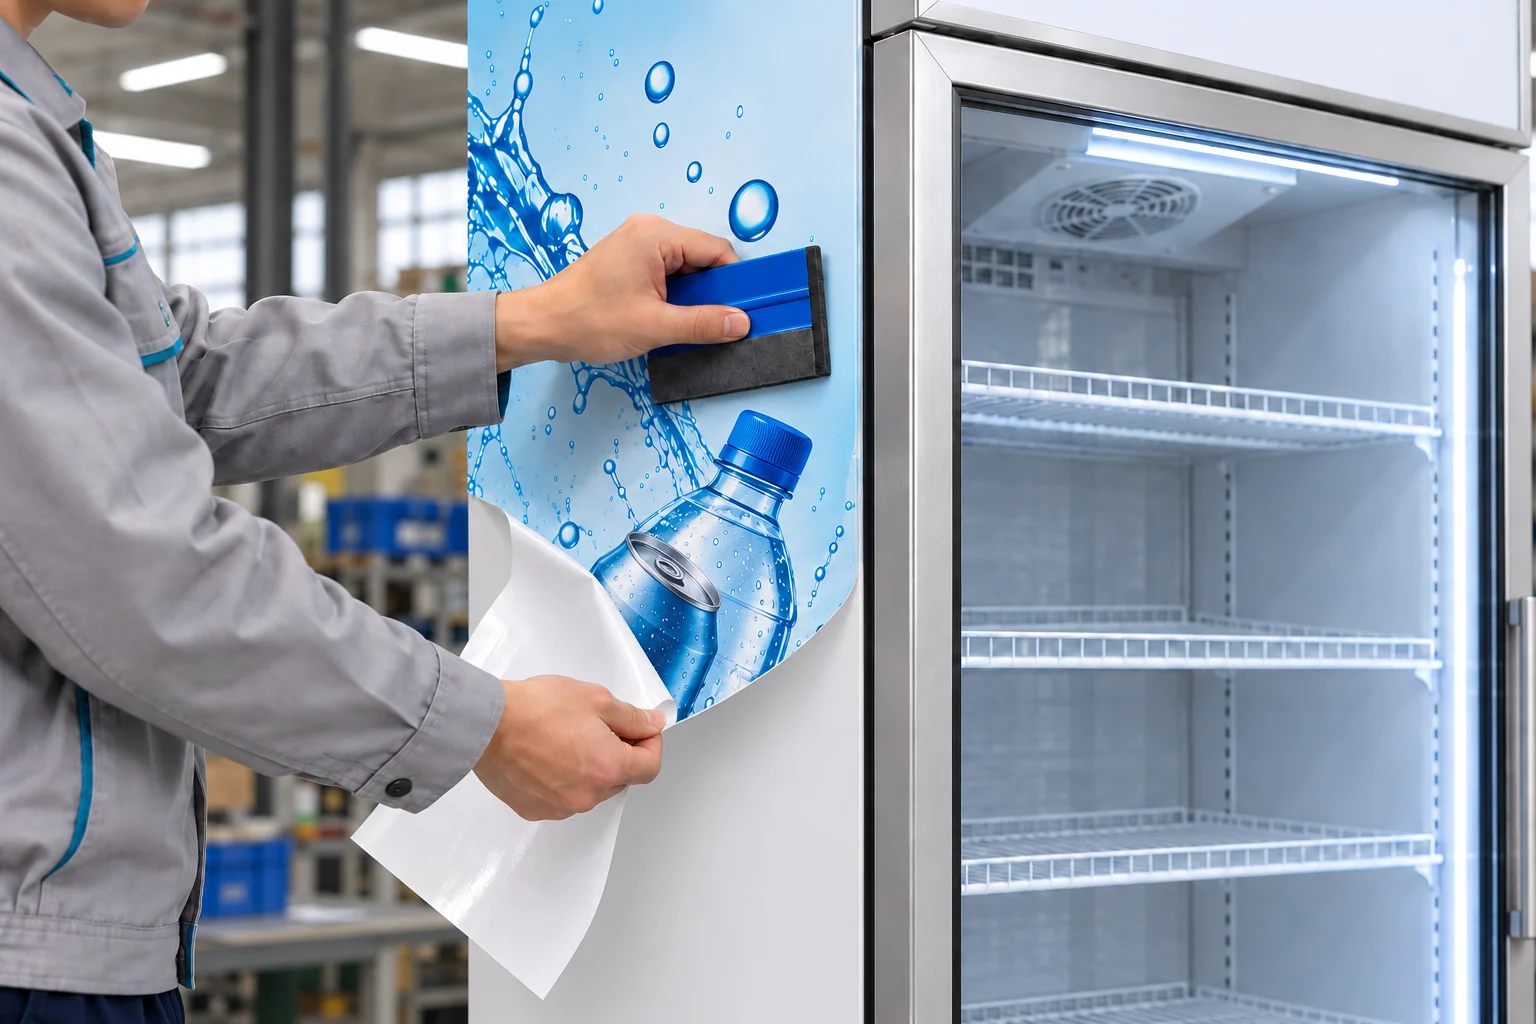 Side panels & wraps+
Use the actual panel template to position the wrap. Identify seams, corner returns and areas that must remain clear for ventilation, controls and service access. Approve artwork placement and the finish sample against the chosen substrate.
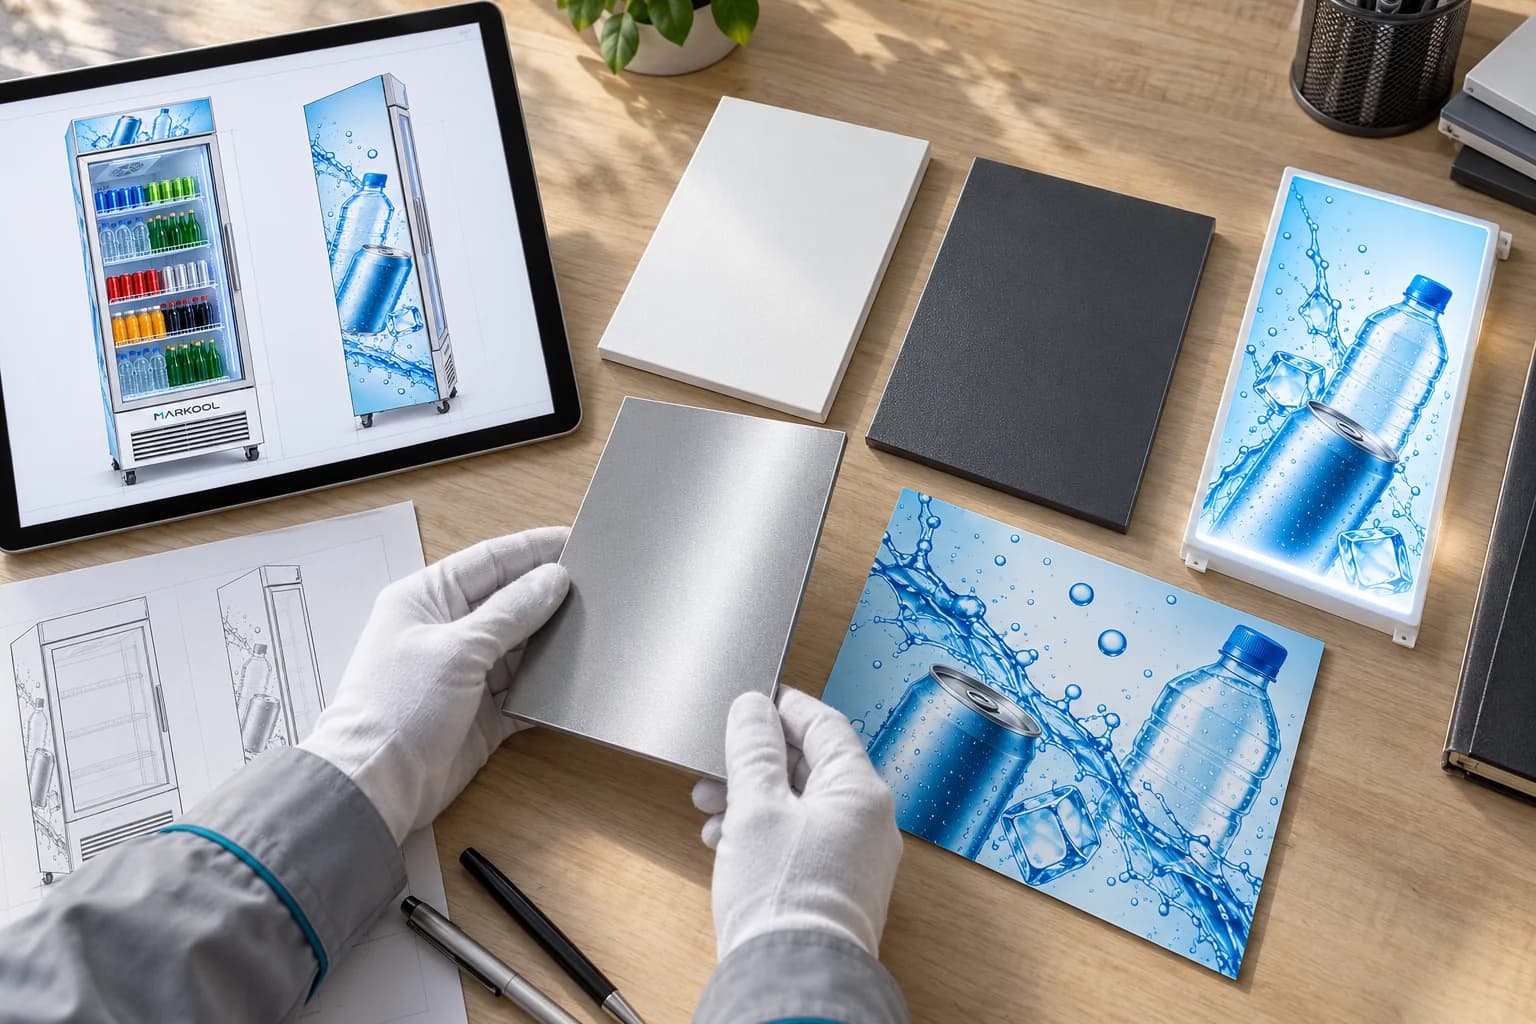 Cabinet colour & finish+
Provide a colour reference and identify where each finish belongs. Review colour, texture and gloss on the intended material under agreed lighting; keep the approved sample reference with the artwork revision.
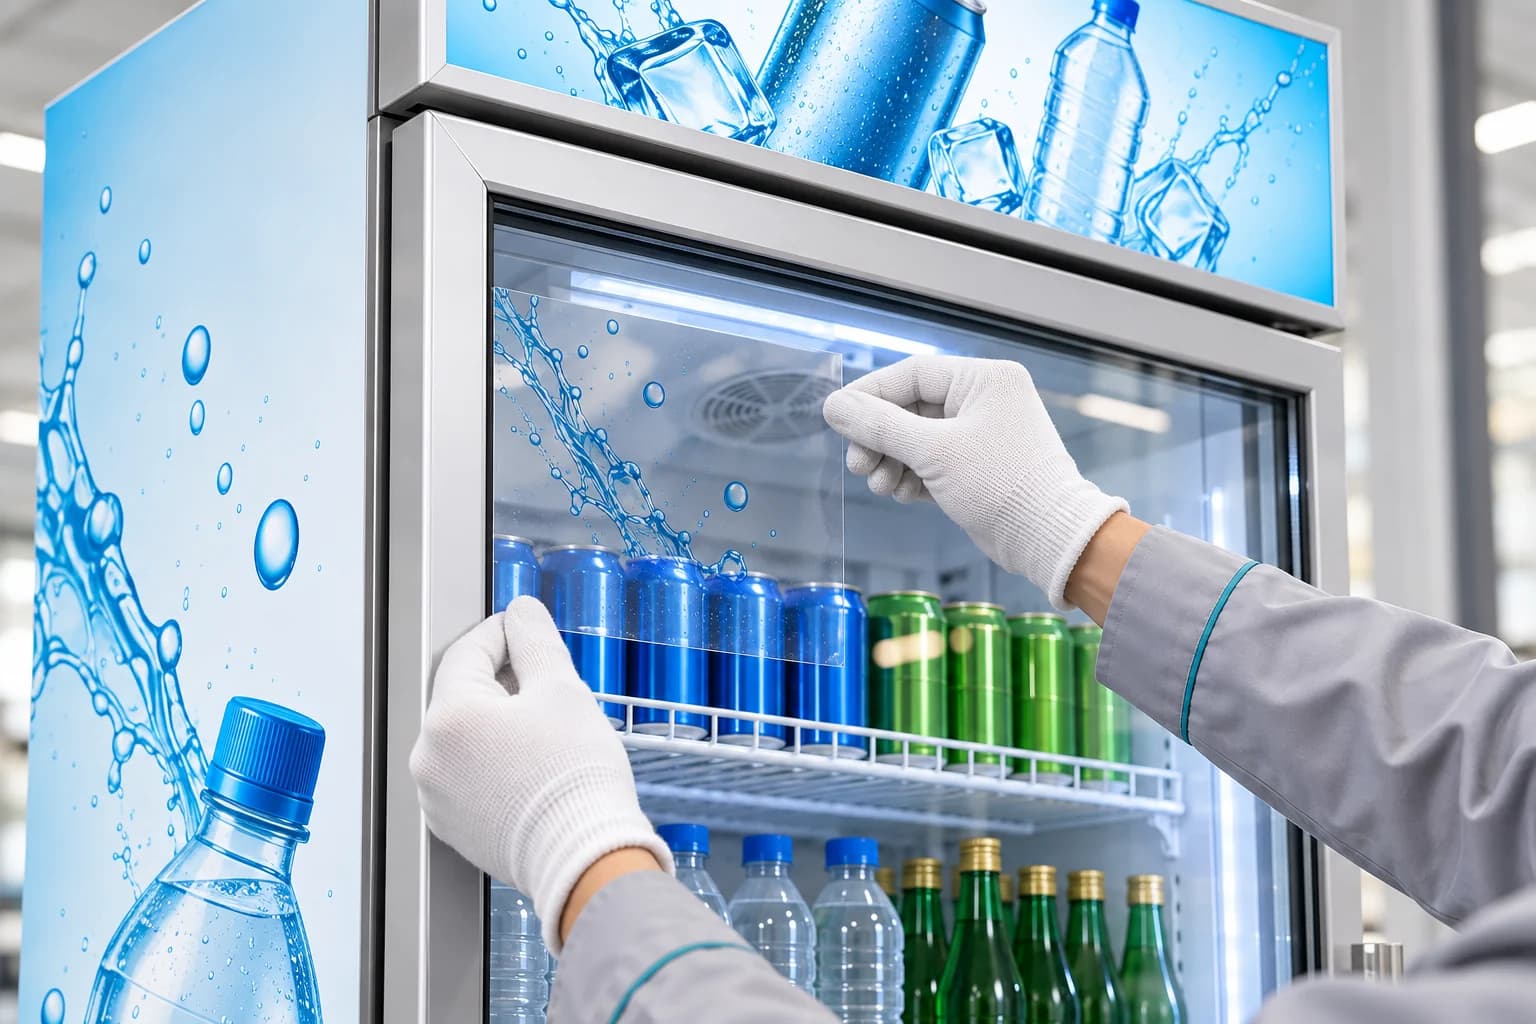 Glass graphics+
Show the intended transparent, translucent and printed areas. Check artwork against the glass and frame boundaries, handle access and the products behind the door. Confirm the treatment and application surface for the selected glass construction.
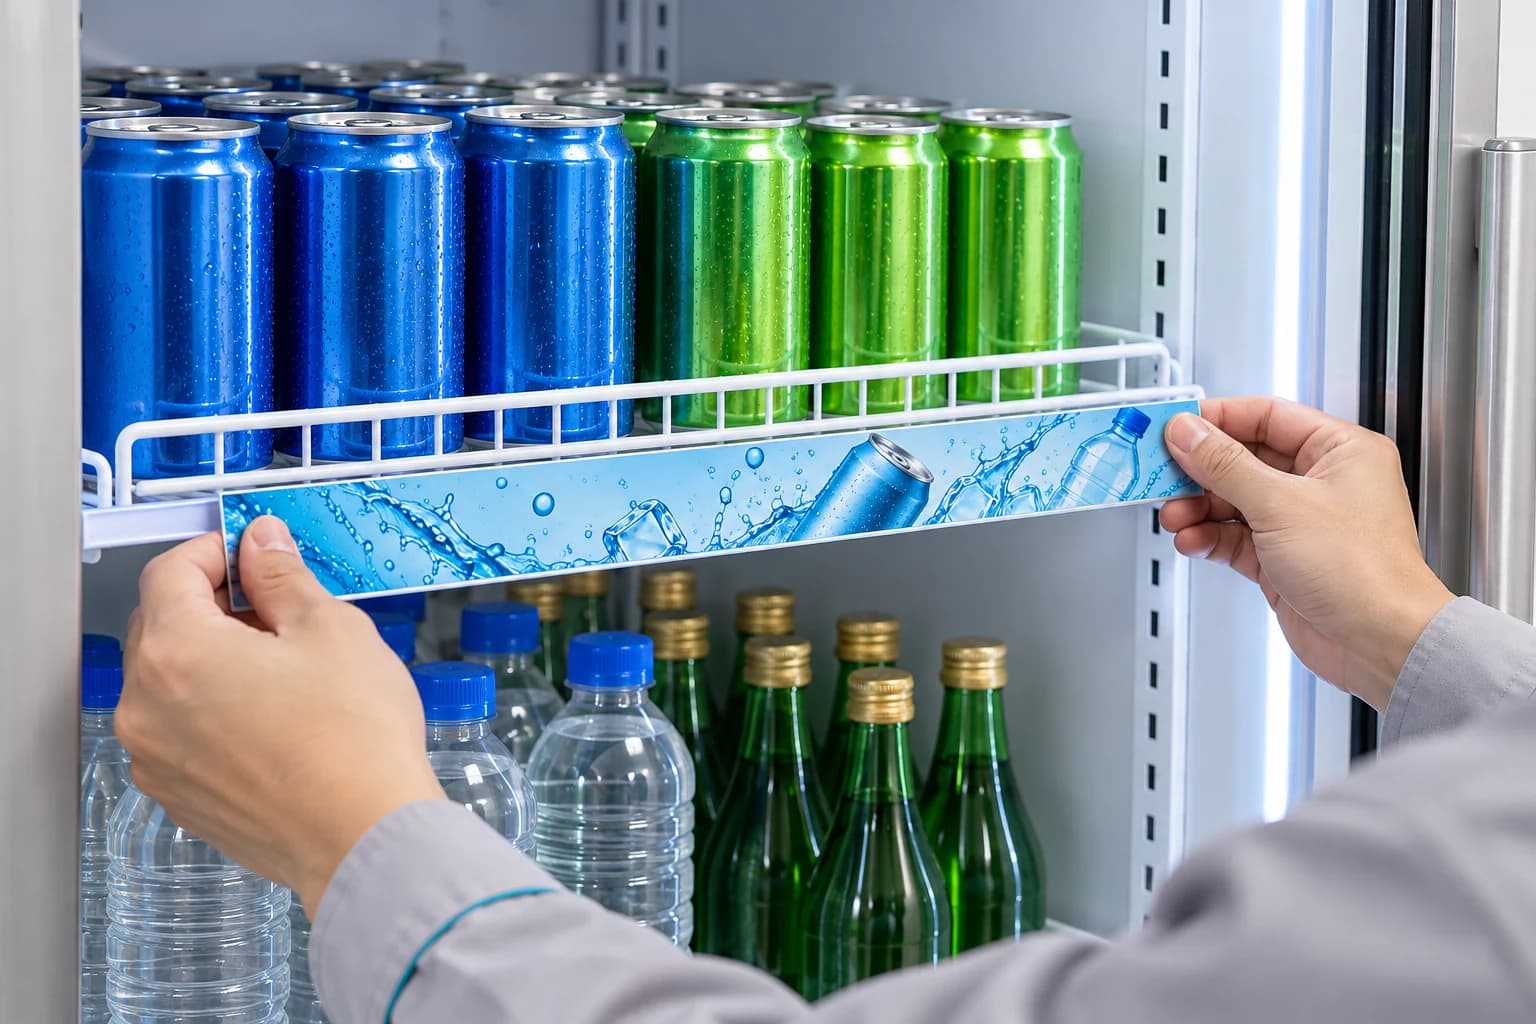 Shelf-edge messages+
Send the shelf-strip artwork and intended bottle or can assortment. Confirm strip dimensions, attachment and edge positions against the actual shelf, keeping product retrieval and label visibility in the review.
Process illustrations show the review topic. Use the current model template and agreed sample to approve production details.
From brief to rollout
Keep visual design and technical decisions connected as the project moves from concept to sample and batch production.
Share the setting, drink pack, destination and estimated quantity. Include your campaign direction if it is ready.
Output: a clear project briefAlign the cabinet format and graphic surfaces. Use its actual template to review the logo, artwork boundaries and viewing angles.
Output: a cabinet and artwork proposalAgree the materials, finish, colour, lighting and acceptance points. Record artwork and configuration changes before sample approval.
Output: agreed sample decisionsBring the approved specification, artwork revision, quantity, packing and commercial terms together in the order documents.
Output: a controlled release recordSample, pilot or rollout
These are planning baselines. The selected cabinet, electrical version, artwork and components determine the actual quotation.
Agree the fit, function, artwork and market requirements the sample needs to demonstrate.
Confirm the available electrical version and any branding or component constraints.
Per model and artwork. Lower quantities can be evaluated with an adjustment.
Design fees, sample costs, revision scope and the lead-time start point are agreed in the quotation. Review the full commercial terms →
Before you brief the artwork
We can identify the remaining cabinet and artwork decisions together.
Yes. Start with your retail placement, drinks and preferred cabinet format. A logo or mood reference can help the discussion; final editable artwork and cabinet-specific templates are needed before production files are approved.
The same campaign direction can be adapted to more than one cabinet. Each format needs its own artwork layout, panel boundaries and approval record. A wrap file should not be resized onto a different cabinet without checking the template.
Glass graphics can be reviewed for a suitable door construction. Agree the clear and printed areas, cleaning requirements, handle boundaries and application surface before approval. Treatments are confirmed for the selected model.
Cabinet selection, artwork readiness, printing method, colour finish, sample requirements and order quantity affect the scope. Confirm design and sample charges, revision scope and timing in the quotation before work is released.
Your next campaign
Start with the placement, drink pack, destination and estimated quantity. Add your preferred design direction; finished artwork can follow.
Your brief starts a scope review. Design, sample and production terms are agreed for the project.